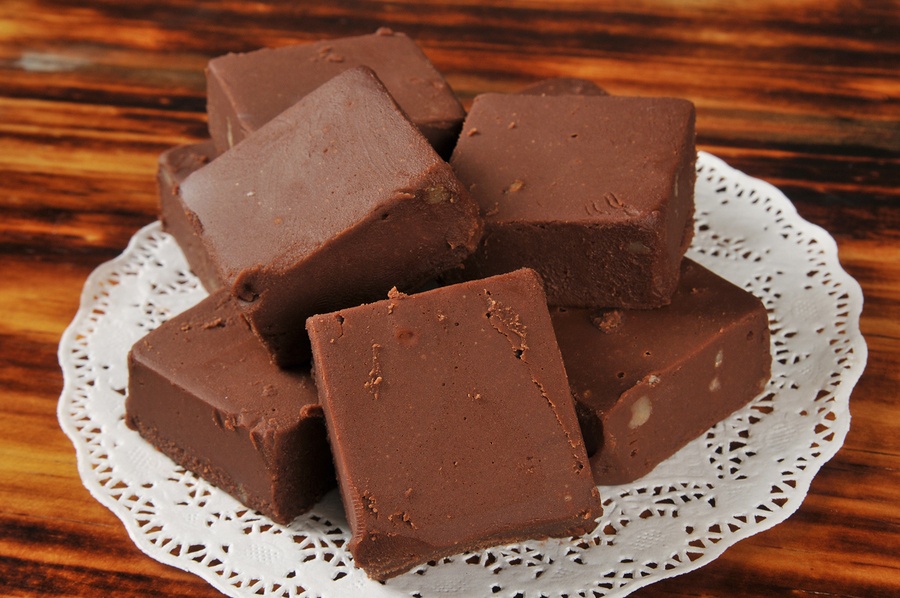
At a recent Learning Over Lunch session for employees of the diocese, Deacon Mark Barder, director of the planning office, delighted us with his passion for creating fudge. He has spent a number of years honing his Creamy Velvet Fudge recipe and technique. As an early Christmas present, Deacon Mark generously agreed to share his distinct process with readers of the “From the Heart” blog.
“The older I get, the less I need. Of the many things that I have done in my life, making candies, fudges and other sweets during the Christmas holiday is one of my favorite things to do (besides lighting my house with Christmas lights!). It has taken a long time to perfect one of these recipes — fudge.
I decided after all these years of making fudge to relinquish my recipe to family, friends and strangers. I am confident if you follow it, you will WOW the socks off of anyone who tastes it.
Enjoy, share and savor this delectable recipe.
Merry Christmas!
Deacon Mark
Creamy Velvet Fudge
Prepare two or three loaf pans by pressing a large sheet of parchment paper in each. (Paper should extend over top of pans.)
Place in large plastic bowl (combine and set aside):
1 (3-3.5 oz.) bar sweetened chocolate, broken into small pieces (Ghiradelli, Godiva, Cadbury)
2 (12 oz.) packages chocolate chips(* See tips section.)
1 cup butter, softened
7 oz. container of marshmallow cream
1-2 tbsp. vanilla
1 tbsp. of another flavoring, if desired
Place in a metal pot fitted with a candy thermometer:
5 cups sugar
1 (12 oz.) can evaporated milk, shaken very well
Over low heat, bring sugar and evaporated milk to a boil, stirring constantly. Do not scrape sides of pot!
The mixture will boil at 221°F. When the mixture reaches 234°F to 236°F take it off the heat and pour it into the bowl with the chocolate, butter and other ingredients. Again, do not scrape sides of pot!
With a hand mixer, beat the ingredients until smooth and creamy. Pour the fudge into the prepared bread pans. (Use heat resistant spatula.)
Cool it overnight. When cool, take the fudge out of the pans by lifting the parchment paper. Wrap the blocks in plastic wrap.
Yield: Approximately five pounds.
Deacon Mark’s fudge-making tips:
- I prefer a plastic bowl for mixing the ingredients as plastic helps to dissipate heat.
- Any flavor of chocolate chips — milk chocolate, dark, mint, butterscotch, peanut butter, etc. — can be used. Don’t use generic chips. *
- Generic marshmallow is cream is OK, but do use not marshmallows as they are coated with a fine sugar that does not dissolve.
- Use a high-end vanilla.
- Other flavorings such as mint, rum, maple, almond, etc. may also be used to modify the fudge flavor.
- I use a metal pot with a copper bottom for cooking the fudge.
- Use a hand mixer — do not use a stand mixer with a metal bowl for combining the ingredients. The metal bowl is too cold for this process.
- Consider investing in a high-quality, digital candy thermometer — it’s an important tool in the candy-making process.
- I use a bamboo utensil to stir the sugar and milk while it is heating.
- I prefer gas heat as it is easy to control.
- If you plan to add nuts, take the mixture off the stove at 234°F.
- For French mint fudge, heat the mixture to 236°F.
- If your fudge is grainy, the mixture did not reach the 234-236°F temperature.
- The fudge will keep one to one-and-a-half months. Do not refrigerate it. Refrigeration dries it out and alters the taste. I have been told it can be frozen but I have never tried this.

Carol Jessen-Klixbull is a copy editor at The Visitor. She is a former Family and Consumer Science teacher who has a passion for all things “food.”